How to Create a Stunning Nano Aquarium: A Step-by-Step Setup Guide How to Create a Stunning Nano Aquarium: A Step-by-Step Setup Guide The Role of Hiding Spots in Fish Health and Behavior: Why Every Aquarium Needs Them The Role of Hiding Spots in Fish Health and Behavior: Why Every Aquarium Needs Them How to Clean and Maintain Aquarium Decorations for a Healthy Tank How to Clean and Maintain Aquarium Decorations for a Healthy Tank

How to Create a Stunning Nano Aquarium: A Step-by-Step Setup Guide

A nano aquarium can turn a small desk, shelf, or kitchen counter into a living landscape. The most successful setups combine attractive aquascaping with stable water parameters, suitable livestock, and a maintenance routine you can realistically follow. Because a small volume changes quickly, every choice matters: tank placement, filtration, lighting, substrate, plants, and stocking must work together.

Choose the Right Nano Aquarium and Location

A nano aquarium is generally a small aquarium of about 2 to 20 gallons, although definitions vary by aquarium keeper and manufacturer. For beginners, a tank between 5 and 10 gallons usually offers a safer balance between compact design and water stability.

Tank dimensions affect both appearance and animal welfare. A shallow, wide aquarium provides more surface area for gas exchange and gives aquatic plants and shrimp room to spread. Tall tanks can look elegant, but their smaller footprint may limit swimming space and make planting or maintenance awkward.

  • Choose a level, sturdy surface that can support the filled aquarium, equipment, and substrate.
  • Position the tank where you can view at least two sides if possible.
  • Keep it away from direct sunlight, radiators, air-conditioning vents, and frequently opened exterior doors.
  • Leave enough space behind and above the tank to remove the lid, clean the glass, and service the filter.

Water weighs roughly 8.3 pounds per gallon, before adding gravel, rocks, and wood. A 10-gallon aquarium can therefore place more than 90 pounds on furniture. Check that the stand is stable and designed for aquarium weight. A foam leveling mat may help with some rimless tanks, but follow the aquarium manufacturer’s instructions rather than improvising.

Choosing a smaller aquarium saves space and often reduces equipment costs, but it also reduces your margin for error. In a 3-gallon tank, a small amount of uneaten food or evaporation can alter conditions quickly. A 7- to 10-gallon tank is often easier to keep stable while still delivering the compact look associated with nano aquariums.

Plan the Layout Before Adding Water

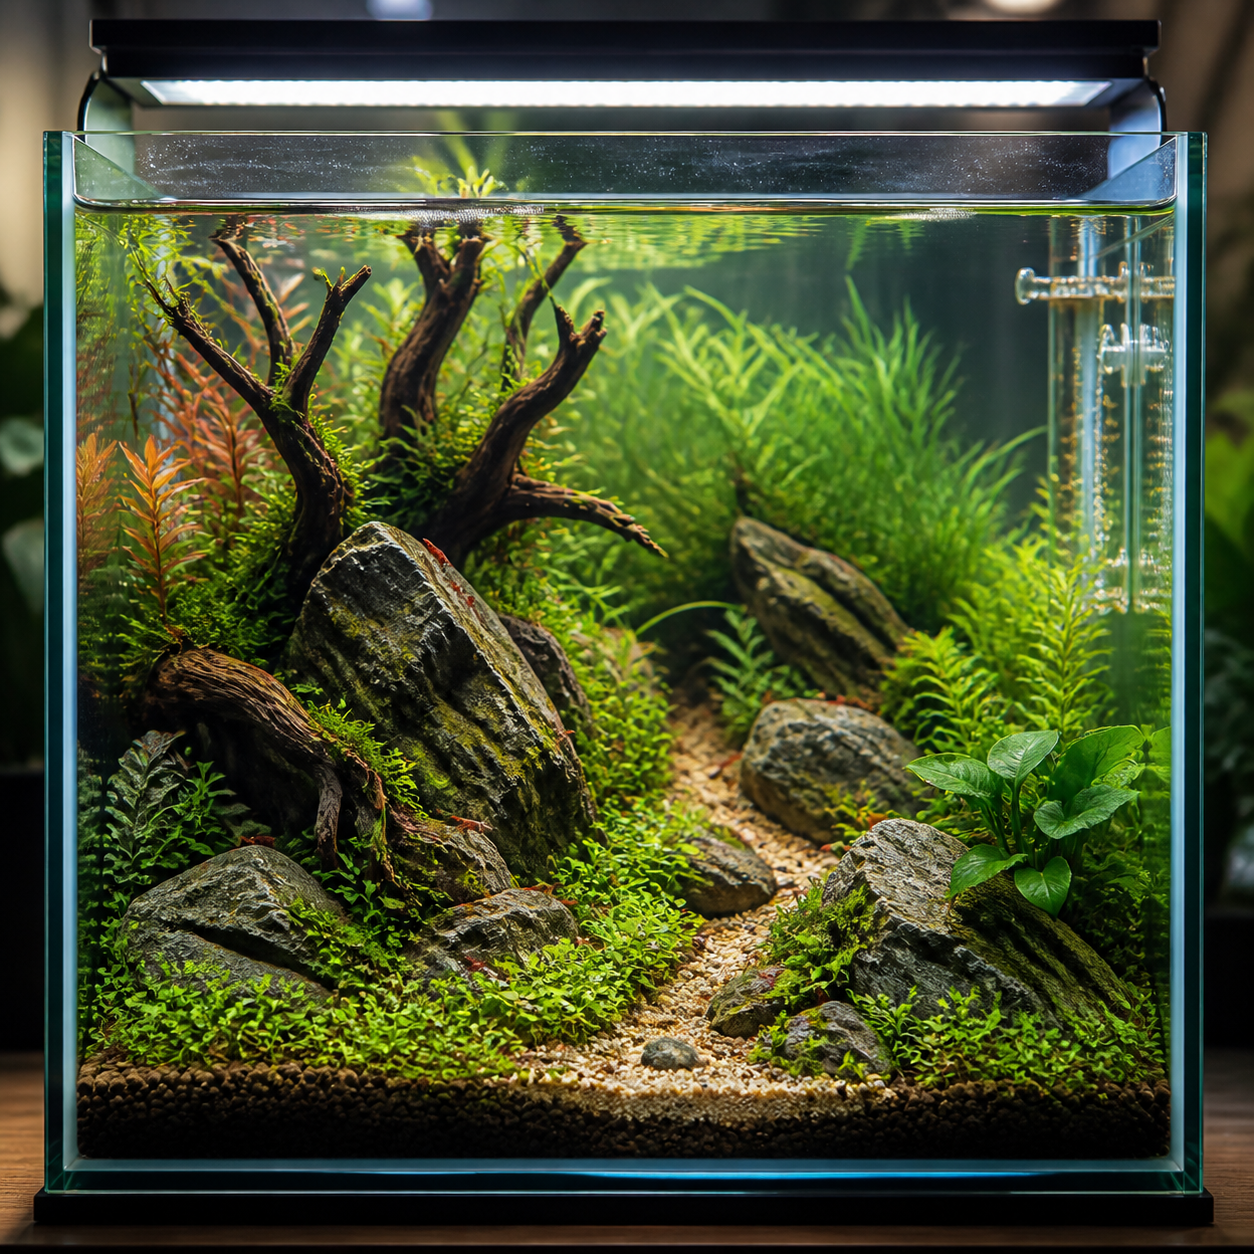
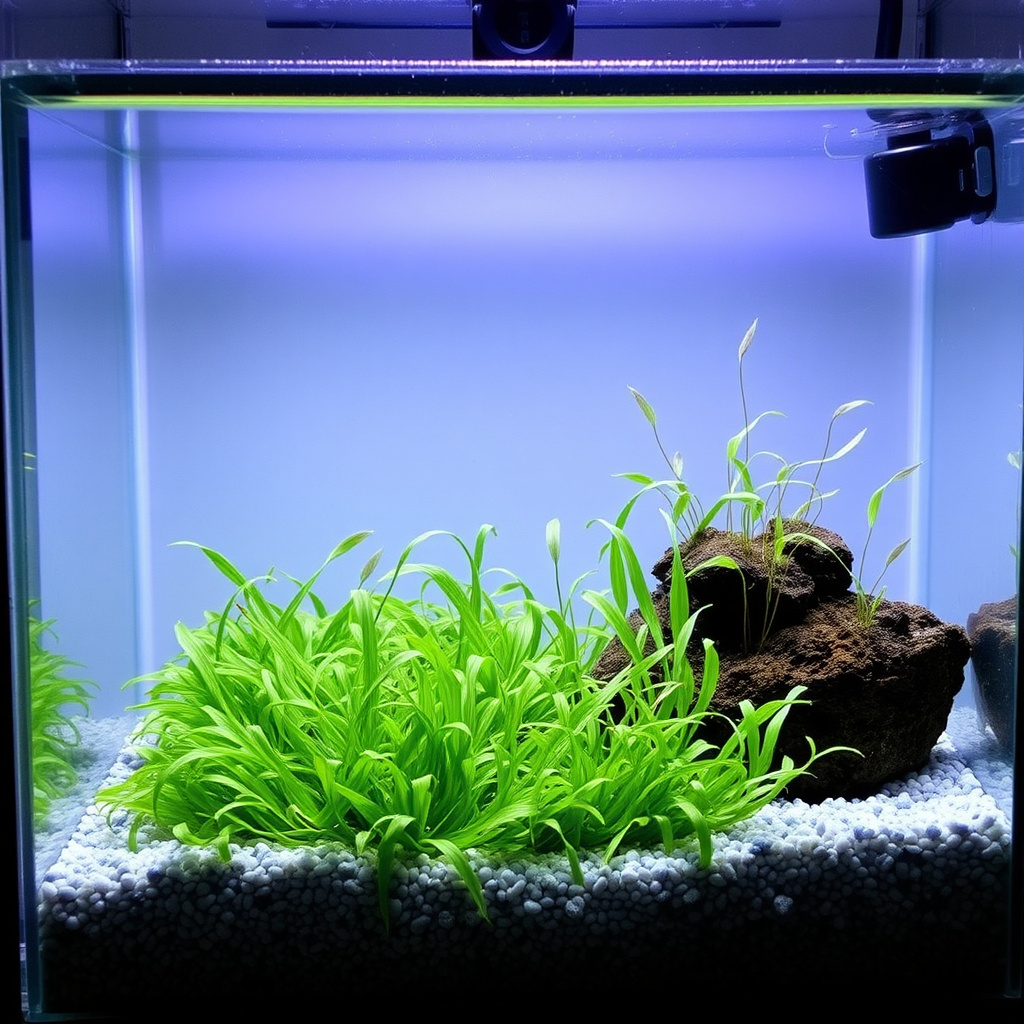
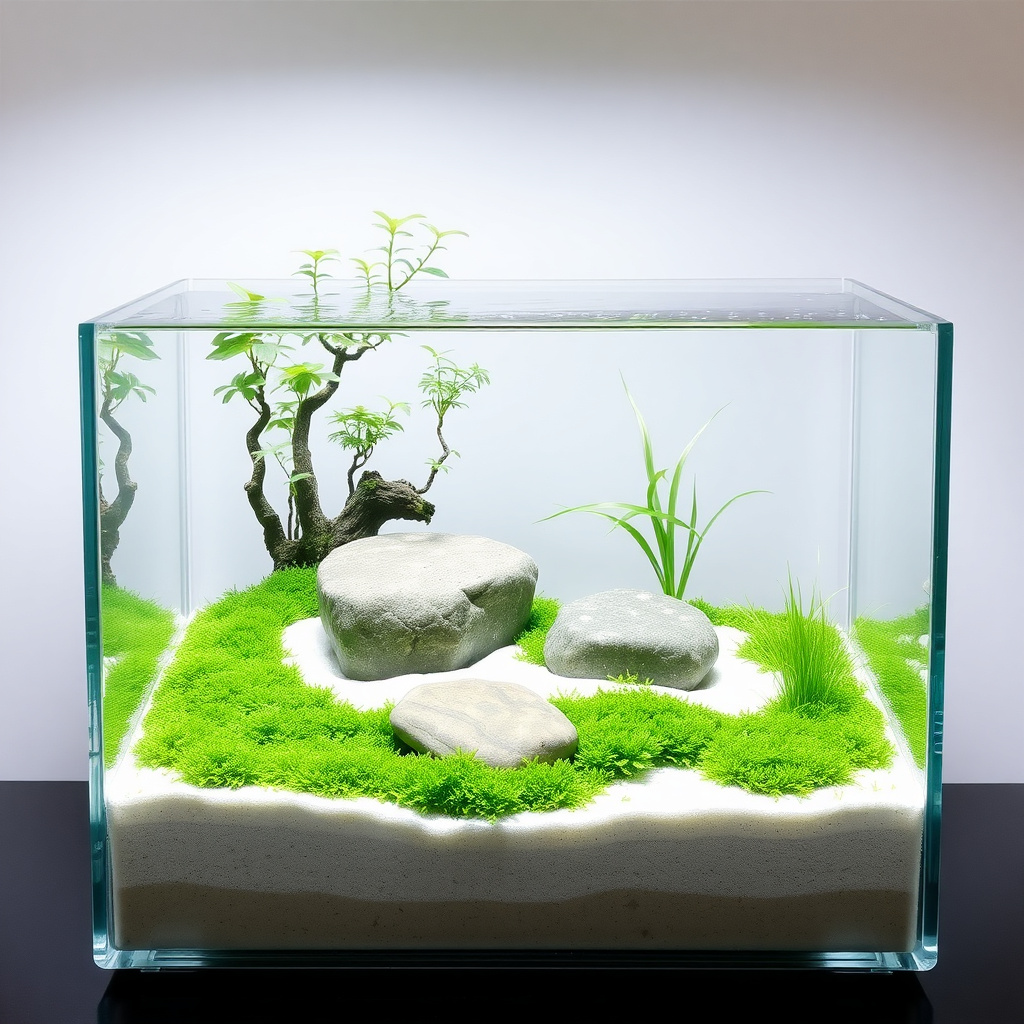
To create a cohesive nano aquascape, establish one focal point, preserve open space, and build visual depth with substrate, aquarium hardscape, and plants before filling the tank.

Start by viewing the empty aquarium from its normal position. Sketch the layout or arrange dry materials on a table first. The goal is to create a clear composition rather than filling every visible area.

Use the three-part layout test

  • Focal point: Choose one dominant rock, piece of driftwood, or plant group. Placing it slightly off-center often looks more natural than putting it directly in the middle.
  • Negative space: Leave an open foreground or swimming area. Empty space gives the eye somewhere to rest and makes the aquarium appear larger.
  • Depth: Slope the aquarium substrate from low in front to higher at the back. Smaller stones and plants toward the rear reinforce the sense of distance.

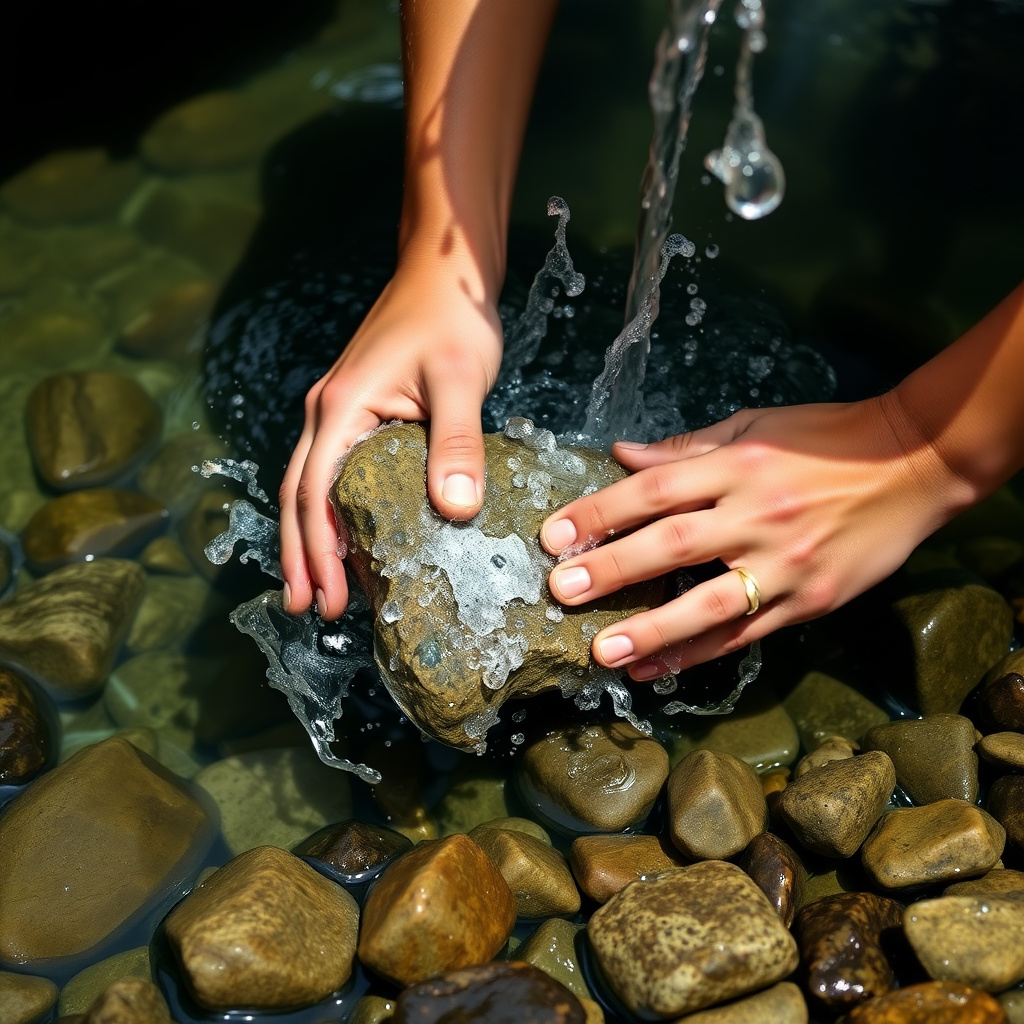
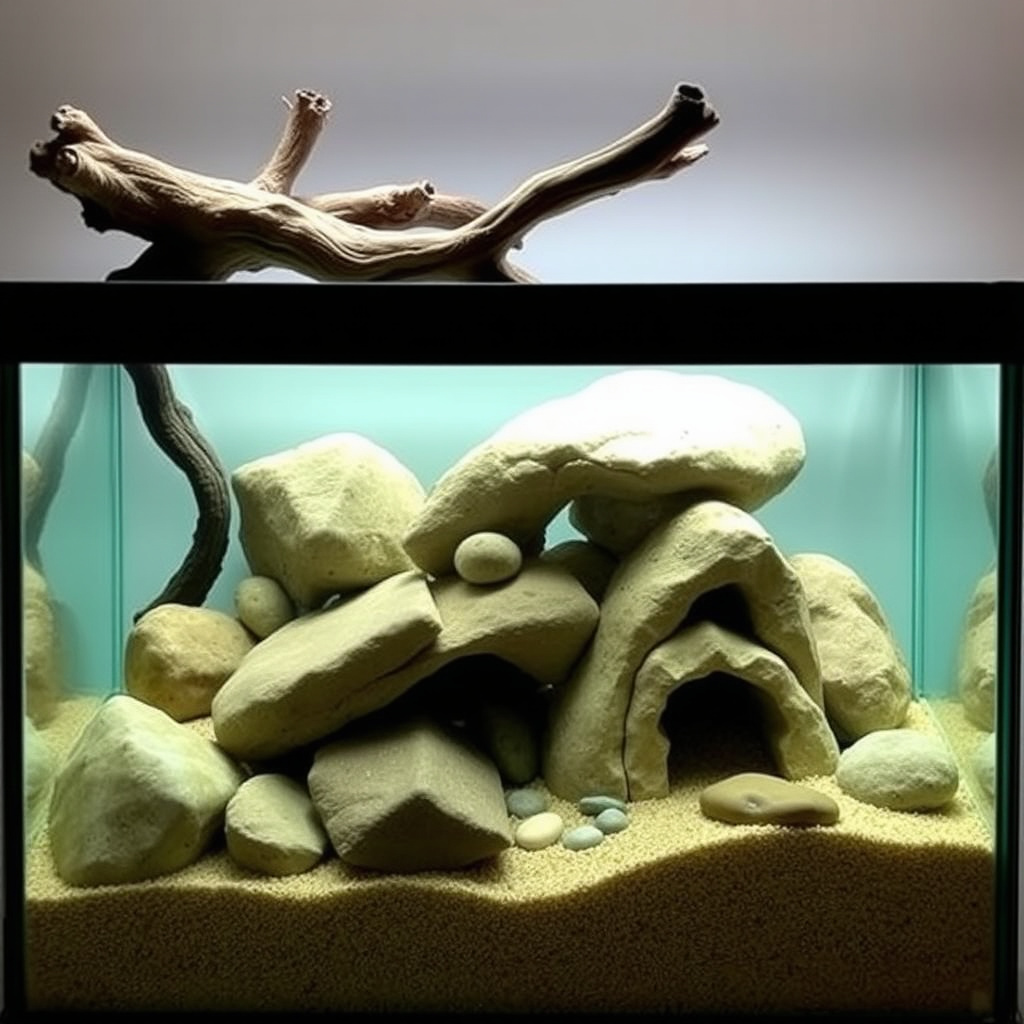
Hardscape should look anchored rather than scattered. Use a few related rocks instead of many unrelated colors and shapes. Driftwood can create a strong diagonal line, while branching wood gives shrimp and small fish cover. Rinse materials thoroughly, and use only aquarium-safe rocks and wood. Avoid collecting items from roadsides, treated gardens, or unknown waterways.

Think about maintenance while planning. Leave a narrow gap between hardscape and the glass so an algae scraper can pass through. Avoid creating deep pockets where food and debris can accumulate. A beautiful layout that cannot be cleaned soon becomes a source of poor water quality.

Select Essential Equipment and Materials

A nano aquarium needs reliable filtration, appropriately timed nano aquarium lighting, safe water preparation, and basic monitoring tools; advanced equipment is optional unless your chosen plants or livestock require it.

Filtration provides mechanical cleaning and a home for beneficial bacteria. A small sponge filter is gentle, inexpensive, and particularly suitable for shrimp. An internal or hang-on-back filter can provide stronger circulation, but cover the intake with a pre-filter sponge so small shrimp cannot be drawn inside.

Choose a filter with adjustable flow. Strong current can exhaust bettas, stress shrimp, and uproot newly planted stems. On the other hand, dead spots may allow debris to settle. Aim for gentle circulation that moves the surface without turning the tank into a washing machine.

Use an aquarium heater when the room temperature fluctuates or when keeping tropical species. A thermostat-controlled heater matched to the tank volume is safer than an oversized model. A thermometer confirms whether the heater is working correctly.

For materials, gather:

  • Rinsed aquarium substrate, such as inert gravel, sand, or a planted-tank soil.
  • Water conditioner that neutralizes chlorine and chloramine.
  • A timer and adjustable LED aquarium light.
  • A siphon, algae scraper, dedicated bucket, tweezers, and small scissors.
  • Liquid tests for ammonia, nitrite, nitrate, and pH.

Substrate choice depends on the aquascape. Inert gravel is predictable and beginner-friendly. Active planted substrate can support certain live aquatic plants and lower or buffer pH, but it may release ammonia initially and requires closer testing. Choosing richer substrate for plant growth means accepting a more involved cycling and water-testing phase.

Build the Aquascape Step by Step

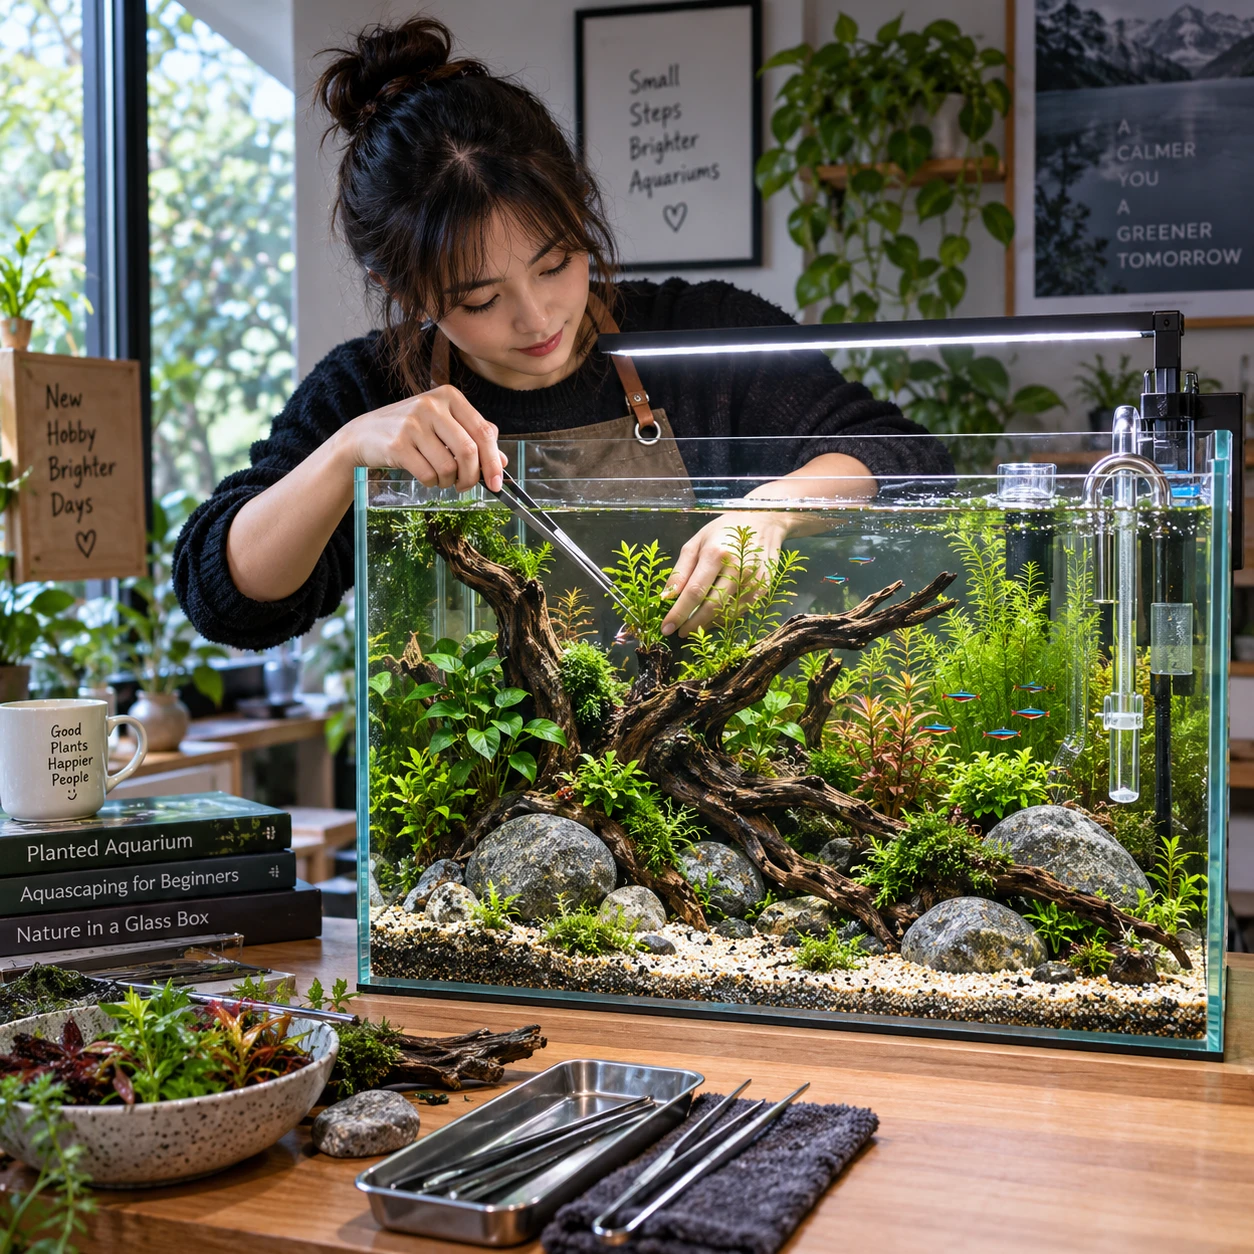
Build the aquascape in a dry or partially dry tank by adding substrate, securing hardscape, planting correctly, and filling slowly over a plate or plastic bag to protect the layout.

  1. Add the substrate: Place a deeper layer toward the back, usually around 2 to 3 inches for rooted plants, with a thinner foreground. Rinse inert materials until the water runs mostly clear.
  2. Position the hardscape: Set rocks and driftwood firmly on the base. Large stones should rest securely rather than sitting on loose sand where burrowing livestock could shift them.
  3. Install equipment: Add the filter, heater, thermometer, and any airline tubing. Hiding equipment behind plants or hardscape keeps the composition clean while preserving access for maintenance.
  4. Plant the aquarium: Place taller plants at the rear, medium plants around the focal point, and low-growing species in the foreground. Bury roots but keep rhizomes of Anubias and Java fern above the substrate.
  5. Fill carefully: Pour water onto a saucer, plastic bag, or shallow dish. This reduces turbulence, prevents cloudy water, and keeps substrate from washing over delicate plants.
  6. Start the equipment: Add water conditioner, turn on filtration, and set the heater. Keep the light on for a modest period while plants establish.

Easy plants include Anubias nana, Java fern, Java moss, Cryptocoryne species, and many healthy stem plants. Low-light plants grow slowly, which reduces trimming, although they can still suffer from algae if lighting is excessive. Fast-growing plants consume more nutrients but demand more pruning.

Cycle the Aquarium and Choose Suitable Livestock

Cycle the aquarium before adding livestock by establishing beneficial bacteria that convert toxic ammonia into nitrite and then nitrate. Test the water regularly and add animals only when ammonia and nitrite remain at zero.

The nitrogen cycle begins when decomposing food, plant matter, or an ammonia source produces ammonia. One group of bacteria converts ammonia to nitrite, while another converts nitrite to nitrate. Nitrate is less toxic at appropriate levels but still accumulates and must be managed through water changes and plant growth.

A fishless cycle commonly takes several weeks, often around 3 to 6, depending on temperature, filtration, the bacterial starter used, and the ammonia source. Do not rely on elapsed time alone. A test result is more useful than a calendar date: before stocking, ammonia and nitrite should read 0 ppm, with nitrate present at a manageable level.

Stock conservatively. A mature 5-gallon aquarium may suit a small colony of freshwater shrimp, such as Neocaridina, along with a few suitable snails. Fish require more careful evaluation because swimming behavior, adult size, waste production, and territorial needs vary widely. Many small fish still need a larger footprint or a group of their own species than a typical nano tank provides.

Shrimp and small fish can sometimes live together, but compatibility is never guaranteed. Adult fish may eat shrimplets, and even peaceful species can compete for food. If breeding shrimp is the priority, a species-only setup with moss and hiding places is usually the safer choice.

Acclimate livestock gradually, especially when the aquarium’s pH, temperature, or hardness differs from the transport water. Add only a few animals at first and observe them for several days before increasing the population.

Maintain a Healthy and Attractive Nano Aquarium

Maintain a nano aquarium with regular partial water changes, restrained feeding, filter care, plant trimming, and frequent checks of water parameters. Consistency matters more than complicated equipment.

For many lightly stocked nano aquariums, a weekly water change of about 20% to 30% is a practical starting point. Test nitrate and observe livestock to adjust the routine. Heavier stocking, active substrate, or visible debris may require more frequent changes, while a mature, heavily planted shrimp tank may need a gentler schedule.

  • Test ammonia and nitrite whenever livestock behaves unusually or after a major disturbance.
  • Check nitrate, pH, temperature, and hardness on a regular schedule.
  • Match replacement water temperature closely to the aquarium water.
  • Feed only what livestock consumes within a minute or two.
  • Trim overgrown plants and remove dying leaves promptly.
  • Clean filter media in removed aquarium water, never under chlorinated tap water.
  • Remove algae from the glass while leaving some natural biofilm for shrimp and snails.

Nano aquarium lighting is a balance between plant growth and algae control. Begin with roughly 6 to 8 hours daily, then adjust according to plant health and algae. More light does not automatically create a better aquascape. It can increase plant demand for nutrients and carbon while giving algae an advantage if the biological system is immature.

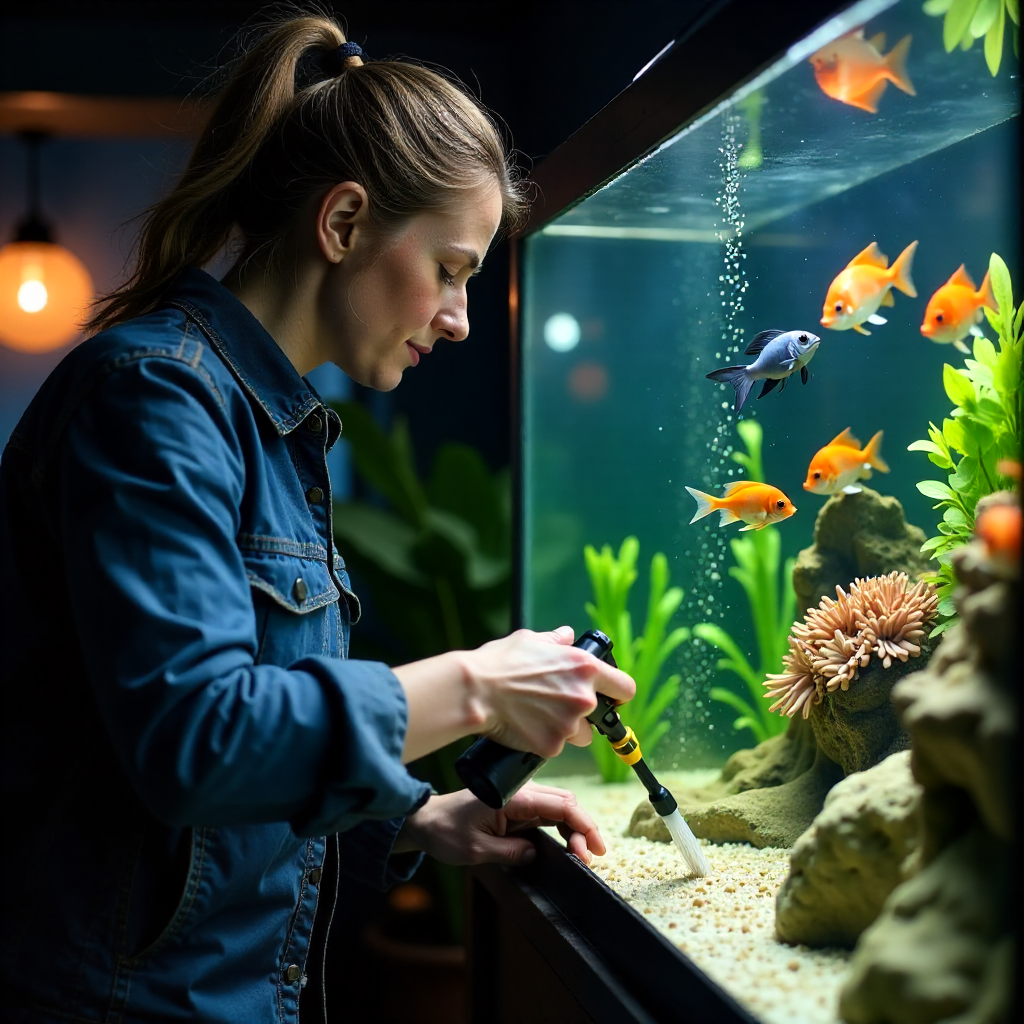
Keep decorations clean without sterilizing the aquarium. Beneficial bacteria live mainly on filter media, substrate, and hardscape, so aggressive cleaning of everything at once can destabilize the biological balance.

Common Nano Aquarium Mistakes to Avoid

The most damaging nano aquarium mistakes are overstocking, skipping the cycle, overfeeding, and allowing equipment or layout choices to undermine water quality.

Adding livestock too soon

The error: Introducing shrimp or fish before ammonia and nitrite reach zero. Beginners often assume clear water means safe water. The consequence can be rapid toxicity and livestock loss within days. Complete a fishless cycle and confirm results with a test kit.

Overstocking a small tank

The error: Choosing animals by adult length alone. A fish may be small yet active, social, or territorial. Overstocking increases waste and makes water parameters swing faster. Select fewer animals, prioritize the tank’s footprint, and research adult behavior before purchase.

Overfeeding

The error: Treating feeding as entertainment or compensation for a sparse aquarium. Uneaten food decomposes into ammonia and fuels algae. Feed small portions and remove leftovers with a siphon or tweezers.

Balancing the lighting poorly

The error: Leaving the light on all day to make plants grow faster. Excessive lighting can produce persistent algae without solving nutrient or carbon limitations. Use a timer, start with 6 to 8 hours, and increase gradually only when plants need it.

Crowding the aquascape

The error: Filling every section with rocks, wood, and ornaments. A packed layout reduces swimming space, traps debris, and makes glass and filter maintenance difficult. Keep one open area and preserve access around the hardscape.

Frequently Asked Questions

What size aquarium is considered a nano aquarium?

A nano aquarium usually holds about 2 to 20 gallons, although retailers and aquarists use the term differently. Tanks between 5 and 10 gallons are often practical for beginners because they remain compact while offering more stable water conditions than very small cubes.

Which plants are easiest for a nano aquarium?

Anubias nana, Java fern, Java moss, and Cryptocoryne are dependable choices. They tolerate modest lighting and do not require constant trimming. Match plants to the light level, substrate, and available nutrients rather than choosing solely by appearance.

Can shrimp and small fish live together in a nano tank?

They can sometimes coexist, but fish may eat baby shrimp and compete for food. A shrimp-only aquarium provides better breeding success. If you combine species, choose peaceful animals, add dense cover, and keep stocking conservative.

How often should a nano aquarium receive a water change?

Many lightly stocked nano aquariums benefit from a weekly 20% to 30% water change. Use nitrate readings, livestock behavior, and debris levels to refine the schedule. Always treat replacement water and avoid sudden temperature changes.

How long should a nano aquarium cycle before adding livestock?

Most fishless cycles take approximately 3 to 6 weeks, but the correct endpoint depends on test results. Add livestock only after ammonia and nitrite consistently read 0 ppm and the system can process an ammonia source without a dangerous buildup.

{{HOMEPAGE_LINKS}}